Monday, April 15, 2013

Calm Down Jar


As most parents of four-year olds, especially girls that have a flair for the dramatic like mine, you're always looking for techniques to turn to when your child is in the throes of a tantrum. I loved the idea of a calm-down jar that I found and decided to give it a try. One thing I would note is that I had the large size Ball jars at home leftover from another project and we used one of these even though it's a little too big and heavy for her to shake on her own. I've made a smaller one that is easier for her to handle, but she tends to prefer the bigger one because it's "prettier to look at". I also want to try making one with a plastic container for younger kids in the future.
All you need is a jar, fine glitter, clear glue and food coloring. You can use coarse glitter, but it does fall faster than the fine glitter. I put a little course glitter, but preferred the fine glitter by far. You can also use glitter glue instead of the clear glue. I tried this initially and it worked, but you need a ton of glitter glue. Since it can get pricey, I felt the clear glue was more cost effective.
First we added in food coloring 
Of course she chose pink and purple, then added in lots of glitter. Its a process of adding glitter and glue until you get the effect you're hoping for. If the glitter falls too quickly, add more glue. 
Then you just watch the glitter until it all falls to the bottom and you get a chance to calm down. I kept adding glue until it took about 2 minutes for all of the glitter to be completely settled at the bottom. It's not a magic cure but there have been several melt-downs where I've asked Abby to sit with the jar and even if she wasn't completely calm, the emotions were headed in that direction. 
You don't have to do anything to decorate the jar top, but I thought the writing wasn't fitting so we chose some pretty flower paper instead. I just cut it to fit the top and then sealed it with matte finish mod podge. I also put a thick seal of hot glue around the outer rim to prevent leaks. I made some sensory jars using this method on some small plastic containers when Abby was 1 and they still haven't leaked. 
This is the jar when the glitter had settled. She preferred the water to be colored but it also could be cool to leave the water clear and have brightly colored glitter swirling. Here's to anything that might make our tantrums be fewer and farther in between! Good Luck :)

Sunday, April 14, 2013

Messy Fun Soap Cloud and EPIC fail soap cloud paint

Last weekend I decided to try the famed Ivory Soap Cloud that most of you have probably seen on many Pinterest posts. I cut the bar in half so each kid could have their own plate and then we gathered around the microwave to watch the magic. I've read instructions for this activity that recommended 2 minutes in the microwave, but our soap only needed about 30 seconds before it started to blow up into a huge fluffy cloud. 
Soap Cloud in the Microwave
Once the cloud comes out it is pretty warm so I would let it cool off for a couple of minutes, especially for little hands. As you can see, my little man loved playing in the fluff and making a big mess. 
Abby liked playing kitchen with the mixture
The more you stir and play, it turns into powder similar to artificial snow. While the kids had fun and I would do this again but I would definitely do the activity outside, because most of my kitchen surfaces had powder soap all over the place! This activity went pretty well but then I made the mistake of overachieving and trying to do a second project with the powder soap flakes. I found a pin on how to turn the leftover soap flakes into bath paint by putting a cup of the soap into a blender with boiling water. 
The instructions didn't say how much water to add so it was a guessing game of put in too much, then add more soap and try for the best. Unfortunately while the soap looked like the consistency of yogurt in the blender (as directed), once we poured the mixture in the muffin pan, the soap seemed to harden and was thick goop. We still added food coloring hoping that it would be usable and headed to the bath. 
By the time we had both kids in the bath, the "paint" was pretty much stuck in the pan. I had some leftover flakes and while my 4 year old was getting impatient waiting to paint, I gave them to her to play with. So of course she promptly took a huge handful and while trying to toss it in the air, paying no attention, she flings it right into my 20 month old's eyes! My husband instinctively wipes his face with wet hands making the situation worse. At this point both kids are crying - one because his eyes are full of soap flakes and the other because she's in trouble. After the dust settled, they still wanted back in the bath to play so we gave them 
the bath goop and this was what we got:

 In summary??

Friday, April 12, 2013

Best things in Life Handprint Frame

While scouting around on Pinterest for ideas for a gift from the kids for my mom's birthday I found this idea and while I really loved the idea, I thought I could do it without having to buy a vinyl decal. I took an 8 x 10 frame that was double glass on both sides. Then I made a word document with the quote using the font "celebrate the day" from a free font site "Fonts 101". I'm sure most of you are aware of this, but if you google free fonts and download them, they will be available right in your word documents, giving you lots of creative options. 


Then I placed the quote under the glass and traced it with an extra fine point paint marker.
Finally I had each of the kids make a handprint and then framed it behind the quote. I love the way it came out and it was much cheaper not paying for the vinyl quote! I'm sure if you rubbed the paint or scratched it a lot, it could come off, but that seems unlikely with my mom hanging it on the wall. I also love that I can easily have the kids do the handprints and update the frame over the years. Great gift and needless to say Mimi loved it!


Wednesday, April 10, 2013

Vintage Jewelry turned into Wall Art Butterfly

As most crafters I love taking something old and turning it into something new and different, but I especially love being able to use old items that have special meaning. My husband's grandmother recently passed away and we were given a ton of her old costume jewelry for my daughter to play with. As a typical four year old girl, she is obsessed with anything that sparkles and loved all of the "diamonds" so I started thinking of ways I could re-purpose some of the jewelry. Abby chose a wooden unfinished butterfly on our last trip to Michael's as a piece to add to her "wall" that I'm working on, so I used that as my inspiration. 

First I painted it white:
Then I chose some of the focal pieces including the faux pearl bracelet for the body and the large clip-on earrings for the wings. 
I pulled off the back of the earrings and fit them to each wing. The bottom part of the top wing I had to tear apart a bracelet and form it using a mosaic effect. 
Then I painted the outer wings bright pink. I lined the bottom wings with a long necklace that I just glued into place. The antennae were made from two piece that were accents on the bracelet and I thought it was a cute touch. 
And here is my final result:
I know it isn't perfect, but I really love the final piece. My daughter is in love with the bright pink and the sparkles and I love that a piece of her great-grandmother will be looking over her every night. Even though she won't grow up knowing her great-grandma, Abby will see this and we will remember to talk about those who have loved us and made us who we are. It is these things that make a house a home and make crafting so much fun for me! I actually found few ideas on pinterest for ways to transform vintage jewelry (outside of adding to clothes or making other jewelry) but I think there are tons of ways you could disassemble special pieces and add them to your projects. If anyone comes up with other ideas, please share!


Tuesday, April 9, 2013

Free Printable Quote from Paper Coterie

I am loving the new trend of using quotes around the house. I especially like using the seasonal ones because they are easy to change out and update. Here are some free printables from Paper Coterie that are adorable.
As you can see they have three quotes with three different color choices all on their site right now. Check it out! 


Monday, April 8, 2013

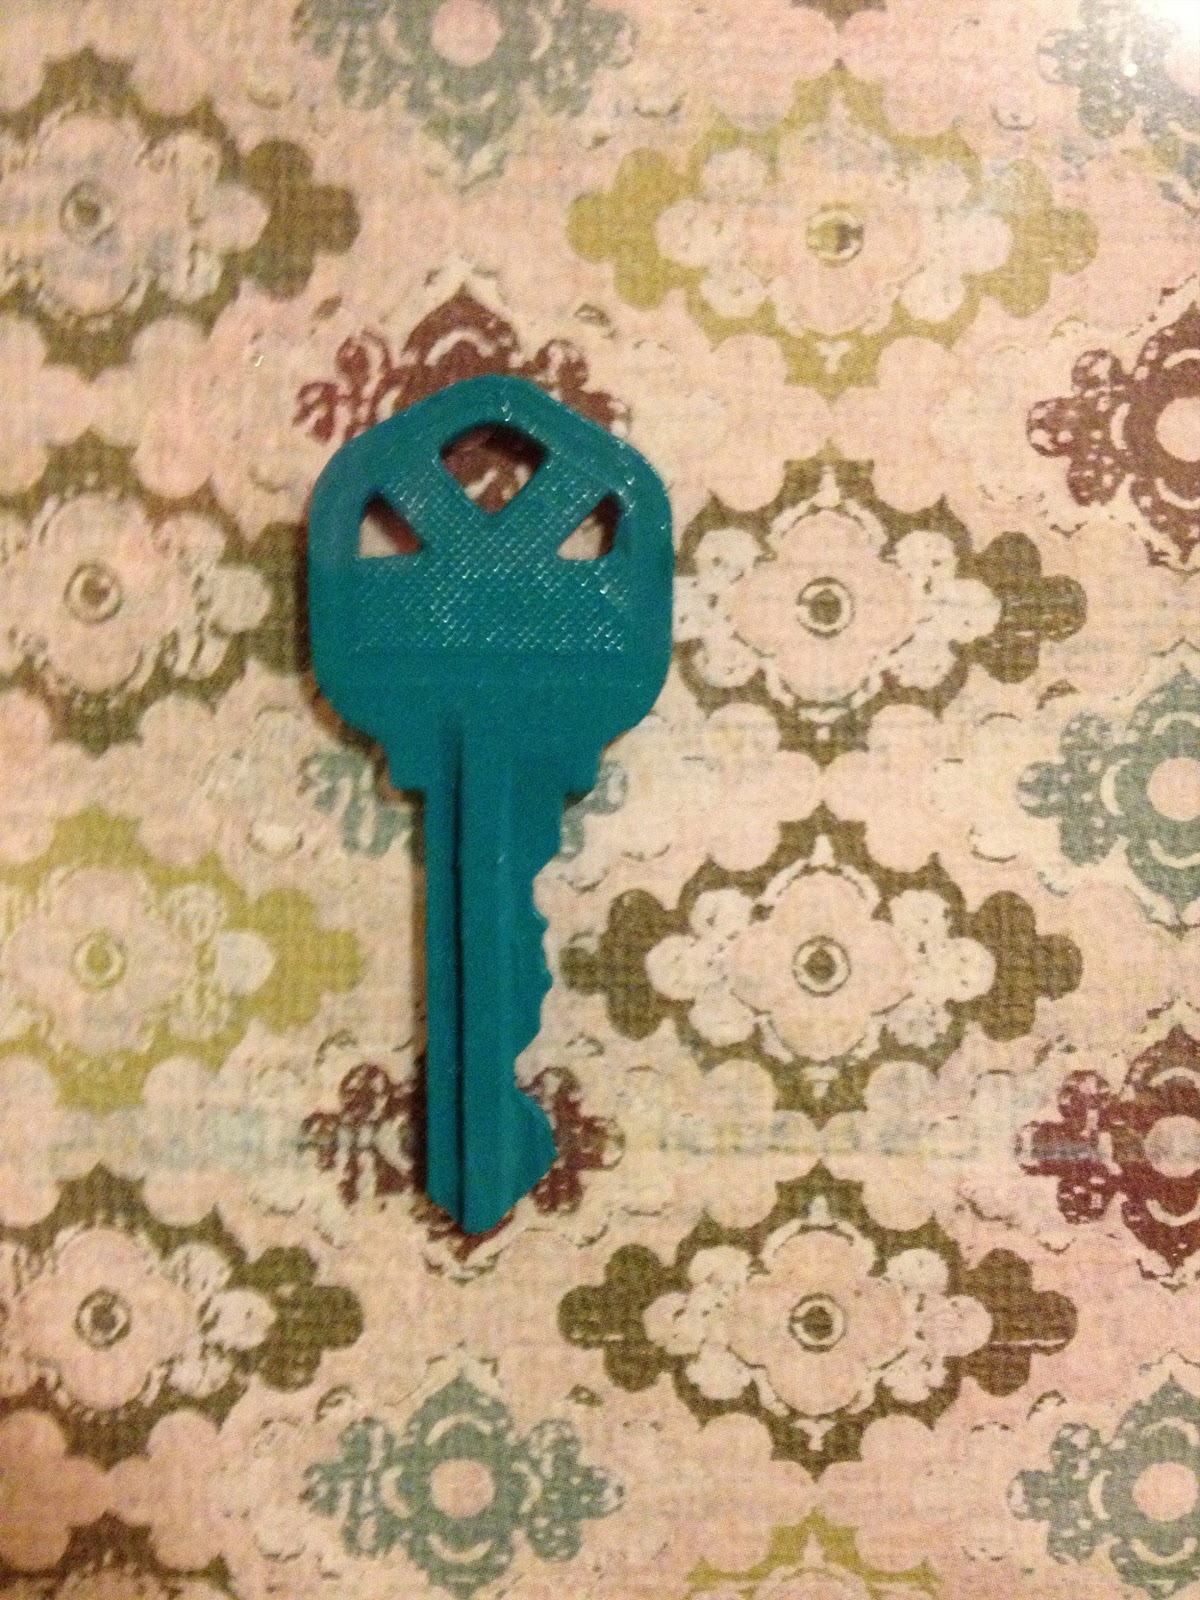
Our Starter Home House Key Frame


I actually did this several months back, but it's one of the easiest and cutest ideas in Pinterest land. All I did was keep a copy of our old house key when we moved and found this distressed wood frame at World Market.  Once I chose some of our colors, I picked out the paper and then painted the key this teal accent color for my kitchen. I love the way it came out and our friends comment on it all the time. I love having personal pieces in your home that create character. Plus if you're going to save these types of mementos anyway, like I do, then you might as well put them on display so you can actually enjoy them. Even though it would be hard to get a copy of someone else's key, this would be a great housewarming gift!

Sunday, April 7, 2013

Leftover Easter Egg Shells Mosaics


Ok last leftover Easter related craft. I promise I will be better about the timing of these posts in the future! Just like the dye, I felt bad throwing away the eggs we had worked so hard in dyeing so many beautiful colors. Instead I peeled the eggs and let the shells dry, putting each color group into a separate sandwich bag.
I printed out coloring pages for preschoolers because the more basic the shapes of the picture, the easier to do a mosaic. 

The only other material we used was clear school glue. Then it was simply filling a shape with glue and then placing the egg shells on top. I loved the technique and I did the flower myself to show that it's a good craft for older kids and teens too. Not because I'm a total kid myself, just as an example. Ahem. 
We had a lot of fun with this and the cost was just a couple of pieces of paper and some glue!